
WALKTHROUGH PT. 1
Your Introduction is over: you have now nearly total freedom of action (which can be confusing at first).
You can explore, board ships and talk to people to open new towns and locations, and you are bound to stumble upon a quest or two... The things you might want to do first are: visit Anna in Lance (opens various quests) and meet Nora in Pidona (opens the Workshop), then find the Workers to put them back to work. Here is a very helpful video to start your journey!
QUESTS:
Note: Which quests are available to you may depend on your main character's HP, Skill Levels, Greed Counter, the number of characters in your party, the places you have unlocked and NPC you have talked to, or the completion of (an)other quest(s). The order below is a suggestion following a general ascending difficulty. Check this alternative quest completion order depending on fixed enemies' Up/SparkLV.
・FIND GON (PIDONA)
・TRANSPORT GOODS (LANCE)
・THE THIEVES' CAVE (BANDIT'S HIDEOUT)
・CATCH STRANGE PETS (WEST/WESTOS FOREST)
・FARCE VS. STANLEY (FARCE/FAROS, STANLEY)
・ALGERNON THE GENIUS RAT (KIDLANTO/KYRDLUND, OFFERING/SACRIFICIAL CAVE, WEST/WESTOS FOREST)
・THE ICE LAKE WITH WOOD (JUSTERM, ICE/ARCTIC LAKE)
・ROBIN VS. DOPHORE (YAMAS/YARMOUTH)
・THE TREASURE CAVES (GREAT ARC/GREAT ARCH)
・MUSE IN A DREAM (PIDONA)
・FREAK-SHOW FAIRY, JUNGLE FAIRY (A TOWN, AKE/ACHE, FAIRY VILLAGE/FAIRYVILLE)
・EAST OF THE WEST: FROM NAJ TO MUNG
(NAJ DESERT, DIVINE/ARCHLORD TOWER, DRY RIVER/FLOWING SANDS, DEATH DESERT/DESERT OF DEATH,
GREAT PRAIRIE/PLAINS, MUNG/MUENGE VILLAGE, NEFT'S DEN/NEFTE TRIBE, ZELNAM'S DEN/HAUNT)
・WAKE UP THE ELEPHANT (RASHKUTA)
・THE CRYSTAL RUINS
FIND GON (PIDONA)
In Thomas' relatives' house in Pidona, talk to Thomas (he says he has things to do and goes out) and follow him (he's a ninja 0.0 – first he gets out of the house without you noticing, then when you tail him South he disappears: you have to get in and out of either the Pub or the Shop to catch sight of him again) to the poorer, Western part of town, to the bottom-left house: Muse, Sharl (Re: Charl) and Thomas are there. Gon is lost because he thought Mitch was lost... A little bit of the history of the Devil King Palace (Archlord Palace) along the way. The path to the inner entrance is quite grand. In this quest we just scratch the surface of the Palace. Mainly a Beastman's den. There is nothing to grab along the way: just get to Gon and come back.
Note 1: To jump over those holes in the floor, you simply need to run (Y button).
Note 2: Thomas has a special version of this quest in his Introduction.
Note 3: While you are here you should probably go deeper after finding Gon until you reach The Talking Door before heading back.
Note 4: Finding Gon is the condition to be able to start the Business Minigame.


TRANSPORT GOODS (LANCE)

In Lance, talk to the man pacing in the Shop, accept the job. This opens a mini-map (accessible at this time only).
Note: You cannot trigger this quest if you have started a mission of the Business mini-game (the man in the shop becomes a Trading Agent): finish the mission first.
Enemies: Thief/Burglar.
Note: If you come here late, there will only be a few Thieves (go back one screen to spawn new Thieves to have enough to trigger the Thieves' Cave), or they may disappear while doing the mission, or there may be none to start with but monsters only (Serpent, Plant), in which two cases triggering the Cave through this quest is impossible. See also the Monster Invasion section below.)
Win half a dozen battles (it is easier if you happen to learn the Slicing Slash/Eliminate Evade Skill from their Sweep Down/Knee Split) and they will run away from you: catch one and ask for info to unlock the Thieves' Cave / Bandit's Hideout.
Walk to the end of the path: you arrive in Yamas/Yarmouth and get 1000G.
There is a second job for your if you want.
Return to Lance, talk to the same man, accept.
This opens another mini-map. Enemies: Thief/Burglar, Serpent (Spirit, Plant, Fairy). Same as previously (no need to get info twice).
Walk to the end of the path: you arrive in Farce/Faros and get 2000G.

ALT
There is an alternate way to do this, but it means forfeiting at least one of the rewards: if you have at least one female party member (not Nora, Undine, Zhi Lin, Bai Meiling) and get annihilated by Thieves, you wake up in the Thieves' Cave: Paul saves you and temporarily joins your party.
[Continues at the end of the following THIEVES' CAVE section.]
THIEVES' CAVE (THIEVES' CAVE/BANDIT'S HIDEOUT)
Now you know where the thieves' hideout is: why not pay a visit? Lots of money waiting for you (2∼4000G).

There are only Thieves/Burglars here. And Paul (talk to him, he goes back to Nina in Kidlanto/Kyrdlund eventually).
And a Great Thief (Re: Carmine).
He asks you to turn a blind eye, for 1000, 2000 or 3000G (careful with your Greed Counter if you are Harid/Khalid).
If you take the deal, Thieves' Cave / Bandit's Hideout disappears from the World Map.


If you refuse, it is time for a fight.
The Great Thief (Carmine) has an unlimited stock of Thieves/Burglars: kill them fast and use hit-all techs so as not to be overwhelmed (they may fill gaps at the beginning of each round, and the front duo has two combined attacks: Time Gap Atk/Delayed Attack and X-attack) (the Great Thief Carmine's Backstab can hurt too). Be warned: this battle can be difficult: see the boss page for details, and if the Great Thief is too much for you, just grab the chests and come back later, or accept his 3000-G offer (careful with Harid/Khalid's Greed Counter), since this Cave only gives you money and since you can possibly re-open it later (see the 'Monster Invasion' Note right below).
When you're done, take his savings (2000G) and leave. No more thieves in the Thieves' Cave!
Note: If you have reached the Thieves' Cave in its already monster-infested form, Paul is not there anymore. See also the 'Monster Invasion' Note right below.


ALT [Continues from the TRANSPORT GOODS section.]
You got wiped out by the Thieves while transporting goods, are in the Thieves' Cave, and Paul is with you. You can leave the Cave (the two first main rooms are empty), or you can go deeper and kill the Great Thief with Paul. Either way, Paul leaves you as you head out (but he can be recruited at once in Kidlanto/Kyrdlund).
Note: Paul & You, You & Paul
There are several ways to recruit Paul, who is an excellent team mate (and a Type 09). Namely:
・If you are defeated by the Thieves while transporting goods, and if you have at least one female party member (not Nora, Undine, Zhi Lin or Bai Meiling), Paul saves you and joins you (as we have seen above). Three options: 1) If you accept the Great Thief's request, Paul stays in your party: this is the fastest way to recruit Paul! 2) On the other hand, if you choose to fight the Great Thief and defeat him, Paul leaves the party as you head out of the Cave and will be readily in Nina's house in Kidlanto. 3) You can also walk out of the Cave after Paul saves you. In any of these three cases, the Thieves' Cave does not appear on the World Map, and if you still have one Transport Goods quest there won't be any Thieves on your way to Farce.
・If you learn the Thieves' Cave location from a Thief while Transporting Goods, enter the Thieves' Cave, find and talk to Paul, he will be available in Nina's house after you close one Abyss Gate.
・If you meet Paul in the Thieves’ Cave after closing all 4 Gates, you won’t be able to recruit him: if you want to recruit him at this point, the only way is to be defeated by Thieves during one of the Delivery missions (impossible if you have completed those already).
Note: The Monster Invasion
There is something like an Monster Invasion Counter (MIC) that can rule the appearance of two locations (Thieves' Cave, Ancient Cave) and determines which enemies are in the Thieves' Cave and in the Lance Delivery quests. It seemingly goes up by 1+RGN after a certain number of battles started, and also by 4 if you accept the Great Thief's request: the monster invasion progresses and the conversation of the Old Woman in Stanley reflects this phenomenon.
There are, all in all, 4 stages of invasion:
| Invasion | Old Woman's Conversation | Effect |
|---|---|---|
| Stage 1 (MIC 0-7) | 'Monsters have increased near the City.' | If opened, there are only Thieves in the the Thieves' Cave. |
| Stage 2 (MIC 8-12) | 'Monsters are living in the Ancient Cave Temple.' | Opens Ancient Ruins. Some monsters (Serpent) appear in the Thieves' Cave along with Thieves. |
| Stage 3 (MIC 13-15) | 'Monsters have increased. They have even taken over the Thieves' hideout.' | At MIC 13, opens Thieves' Cave (if not open already). No more Thieves in the Thieves' Cave (or while Transporting Goods): monsters only. |
| Stage 4 | If you clear both caves: back to the first conversation. No more changes. | |
Note regarding data: The exact number of battles needed is unsure (sources' interpretations of the MIC disagree). The RNG factor seems important and the strength of the monsters you fight also seems to come heavily into account. According to a couple of experiments, the approximate number of battles you need to go from stage (1) to (4) seems to range from 50 to 300, depending on which monsters you battle (fled battles count). The best thing to do if you want a certain stage to appear is to not mind at all, and talk to the old lady in Stanley from time to time, after each quest you complete for example.


CATCH STRANGE PETS (WEST FOREST / WESTOS FOREST)
Go to the West Forest, near Zweig (where a man in blue tells you about a genius in the Forest), where you meet a few Beasts, and Spirit-looking enemies for which you must press A to engage them in battle: the Professor's Pets. There are four of them and they are randomly placed: Bunny/Bunnie, Mako, Face Plant/Mugplant and Mukcha/Mukchar. Mukcha the dragon is tough if you come early. Hot Gas can do 200+ dmg. If you come later and have some Insta-kill attacks, you can insta-kill it on turn 1.
What you do with the pets is up to you. You can either give them back to the sublime and self-aware Professor (you get a kiss and a mention of Algernon the genius rat) or sell them to the Collector of Strange Animals (in Zweig Inn/Pub) for 3000, 4500, 5250 or 5625G in all (but no more). Be mindful of your greed counter (if you are playing as Harid/Khalid).
Note 1: You do not need to talk to the Professor or the Collector before starting the quest, so feel free to get all the pets on your way to her mansion, for example.
Note 2: This quest will automatically end if you start the Sacrificial Cave/Algernon quest.


FARCE/FAROS VS. STANLEY (FARCE/FAROS, STANLEY)
This is a taste of Mikhail's fun Mass Combat War Game.
There is a war between Farce/Faros and Stanley, and you can choose to fight for either side.


Farce/Faros is the stronger side. In Farce/Faros, talk to the soldier in the Pub. You get 1000G for participating, 1000G for winning.
Def Wave: War Game general strategy (Defend All when Charged, Fwd Atk when the opponent's morale is depleted, Move Back/Withdraw to regain morale if needed, retaliate to All Charge with similar Tactics), F Row Exchg/Front Swap to meet infantry with cavalry, wait till they have used both Recover S/Lead Boost ST and All Charge to launch your own All Charge.


Stanley resists by all means available (we are told they use the thieves because of whom you had to transport goods, but this may be Farce propaganda). In the small town of Stanley, talk to the soldier in the Pub. You get 1500G for participating, 1500G for winning. This is a more challenging battle.
Top Charge/Echo Top: general strategy, reply to All Charge with Recovery S/Lead Boost ST, B Row Chrg/Rear Charge to push.


ALGERNON THE GENIUS RAT (KIDLANTO/KYRDLUND, OFFERING CAVE/SACRIFICIAL CAVE, WEST FOREST/WESTOS FOREST)
Go to Kidlanto/Kyrdlund, talk to the Mayor, say you will help. Haha, serves you right: you're stuck in the cave! Check the door a few times. Go deeper in the Cave (Insect, Inorganic, Ghost, Skeleton here and there) and all the way to the Rat Cluster/Mischief. Run away from the battle. Go back to the entrance, check the door again: Nina saves you. Go to the Professor in the West/Westos Forest: she gives you some Rat Poison/Eradicator. Go to Kidlanto/Kyrdlund. Nina has taken your place as a sacrifice... Go to the Rat Cluster in the Offering/Sacrificial Cave. The Rat Poison now shows you where Algernon is (it takes 0 dmg). Kill it.
Loot: Hard/Rigid Leather, Club/Cudgel, Tpotion/Skill Salts, Spirit/Faerie Stone.


Note 0 [Remaster only]: If you go back to talk to the Mayor, you will have the option to 'ask for info' (bad translation..) and get 10kG. Or you can hit him and get some stress relief..
Note 1: You cannot trigger this quest if you have started a mission of the Business mini-game (the Mayor becomes a Trading Agent): finish the mission first.
Note 2: It is possible to defeat Algernon & the Rat Cluster the first time (when you are stuck in the Cave) with hit-all techs, or simply later in game. If you do, the Cave is open when you go back to the entrance and the quest is over.
Of course, it is also possible to beat Algernon without the Rat Poison after Nina was given to the rats (do not go to the Professor's but straight back to the Cave).
Note 3: If you start this quest, the Strange Pets quest ends automatically.
Note 4: If you start this quest after Paul is back in Kidlanto/Kyrdlund (i.e. you have been saved by Paul in the Thieves' Cave/Bandit's Hideout, or have talked to Paul, completed the Thieves' Cave and closed one Abyss Gate), when Nina rescues you the dialogue steers onto Paul and Nina wonders when he will come back (even though she was with him in their house moments ago, or even though he is currently in your party). Specifically:
- If Paul is in Nina's house (not in your party), the Rat Poison / Nina kidnapping sequences do not occur (I suppose Paul won't suffer that his girlfriend is fed to the rats). Instead, if you go visit the two lovebirds and then head to the Offering Cave, you discover that the entrance has been blocked (Paul & Nina's ending before the end!), but you can open it again by pushing the stone from the side (but Algernon does not appear at the end of the Cave).
- On the other hand, if Paul is in your party, if you go visit Nina after she has freed you, the Nina kidnapping / Rat Poison events trigger as usual.


THE ICE LAKE WITH WOOD (JUSTERM, ICE LAKE/ARCTIC LAKE)
In Justerm, talk to Wood/Ward, the man in red fancy clothes: he needs help monster-hunting at the Ice/Arctic Lake. If you ask for payment (at the end you get a Fur Pelt you can sell for 800G), your invisible Greed Counter goes up 1 point (careful if you are Harid/Khalid).
Notes:
- After accepting to help Wood/Ward, your only possible destination is the Ice/Arctic Lake (you cannot take a ship to Kidlanto/Kyrdlund, Business game or not), unless you use this trick.
- After starting the event, you can actually retrace your steps to the beginning of the Ice/Arctic Lake and go back to Justerm at any time to heal or restock. You can also kick Wood/Ward out of the party in the Pub (as usual), simply leave, do something else, return and resume the quest by talking to Ward.


Enemies: Beastman, Aquatic, Winged, Fish, Spirit.
The path is quite straightforward. Unfortunately, no loot.
If you approach from below the Fish swimming around in the water, they will jump at you.
(If you waited till endgame to come here, those Fish may be Triton, the rarest regular enemy.)
All battles have default Water environment (you can change this with magic or elemental attacks).
Run (Y button) to jump over the gap to reach the ice float where a Fish will join you.


The Lake Boss (arbitrarily dubbed Wintrellius in the Remaster edition) has a heavy shield that can minimize most physical dmg and it is immune to all status ailments. Its Freeze Wall/Frigid Veil counter can be dangerous. Dispatch it with care (possibly with hit-all or long-ranged techs).
When it's done (good job) you can recruit Wood/Ward.

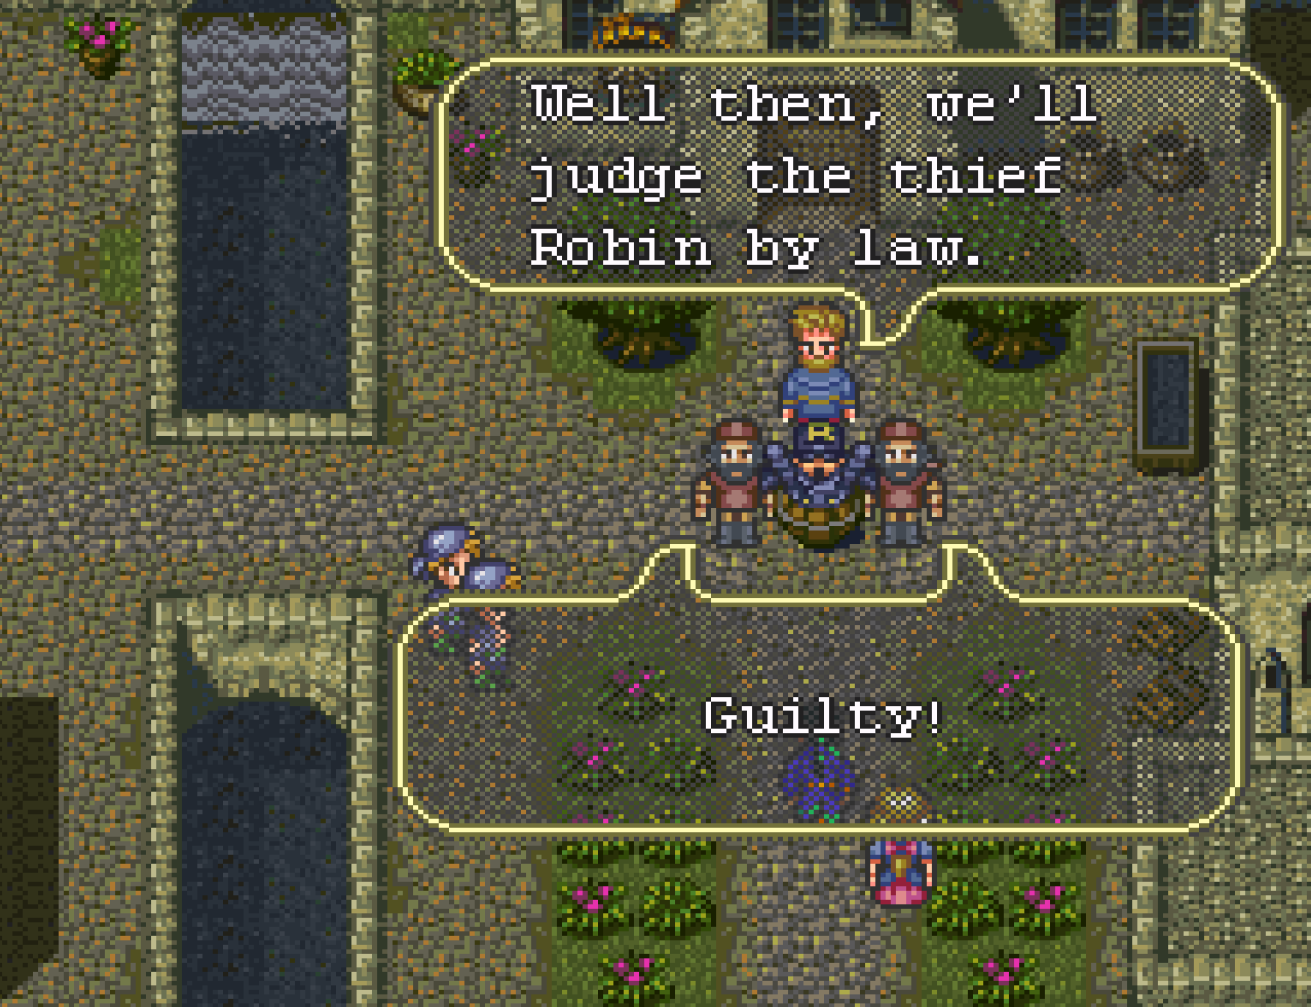
ROBIN VS. DOPHORE (YAMAS/YARMOUTH)
If you ask around in Yamas/Yarmouth you learn that a vigilante fights against a local company of dubious means for profitable ends.
Here you have to:
1) enter the small stone house (middle-left, before the docks) and watch Robin save the day,
2) enter the middle warehouse on the docks (left town exit) and watch Robin save the day again, and
3) walk in and out the Shop by the town square
to see the helper from the Pub accuse Dophore, be bullied, be saved by a Fake Robin, who is too fat for his own good and in his turn saved by the Real Robin, the two of whom you separately help defeat 2 groups of Demon enemies (a few levels above yours and double the usual HP)(if you do this quest at endgame, Asura can appear). All ends well.
You can now recruit one Robin or the other (middle warehouse on the pier, random appearance of one or the other).


THE TREASURE CAVES (GREAT ARC/ARCH)
Go to Great Arc, talk to various locals and pay them to have them show you where the 5 'Treasure Caves' are:
- The 100G Treasure Cave
- The 120G Treasure Cave
- The 160G Treasure Cave
- The 200G Treasure Cave
- Herman's 100G Treasure Cave
100G TREASURE CAVE
Enemies: Spirit, Demon (once).
Trap: 50G, animates the Demon statues.
Treasures: Shell Blazer/Bracers, Wing Charm/Amulet, 550G.


120G TREASURE CAVE
Enemies: Fish, Aquatic (once).
Trap: crazed Aquatic enemies fall into the cave.
Treasures: Fishscales/Fish Scale, 200G.


160G TREASURE CAVE
Enemies: Skeleton, Undead (once).
Trap: groups of Undead appear.
Loot: 250G.


200G TREASURE CAVE
Enemies: Amphibian, Inorganic.
Very little loot: Fang Charm/Amulet.


HERMAN'S TREASURE CAVE
Enemies: Spirit, Fish, Aquatic, Amphibian, Skeleton, Inorganic, Undead, Demon, Blue Dragon.
Traps: groups of enemies appear.


(Right-click and open in a new tab or window to enlarge)
Structure-wise, Herman-Black's 100G Treasure Cave is interesting: over 3 floors, it mixes the environments of the 4 previous caves (which, by the way, trigger many pieces of equipment at the Workshop).
All paths are worth exploring, except maybe the first left (but the underground lake is a pretty sight).
Nice treasures: Barrier Stone, Viking Axe, Spike/Spiled Shield, Training/Bladed Cane, Tpotion 2/Strength Salts, Spirit/Faerie Stone, Life Elemnt/Root of Life, 2350G.
The path to go all the way down, to that fine cave of waterfalls, is: start, right, right, left.
Now, you have a choice to make:
- If you ever want to have Black in your party, you shouldn't try to take the Dolphin Statue/Figurine at the bottom of the Cave, but rather wait to be able to get Herman to guide you to it.
Note 1: If you touch the statue and defeat the boss trio but do not take the statue after, you will still not be able to get Herman: when the time comes, the mayor will start the clue trail but the 'dolphin' dialogue at the pub will not occur and you will have to come back to the Cave to take the statue (and no Herman and no Black for you).
Note 2: Although technically you could probably recruit Herman to defeat Maximus and seal the Water Abyss Gate with Herman afterwards, it seems that the Water Abyss quest overrides the Maximus quest (even though the 'red coral' messages appear in pubs, the 'red coral' option in Herman's dialogue does not appear until the Water Abyss is closed).
- If you couldn't care less about giving back to Herman his lost youth and recruiting Black, be my guest: just defeat the three guardians (the '3 Cramp/3-way Deadlock' which won't attack unless you kill one: just trim all three's HP before killing one) and grab the statue on the way out.


When you press the second face-like button (and you must, so that the door to the next room does not close before you), you unpetrify a majestic but not-overly-friendly Blue Dragon. Early in game, it's a tough fight! and unfortunately, no item as a reward. But not all in life is about a carrot! or is it? If you really need a reason: you may easily spark nice techs there (Flash LV 20). If you are really too frail, spark if you can, then run away from the battle. Repeat at will.
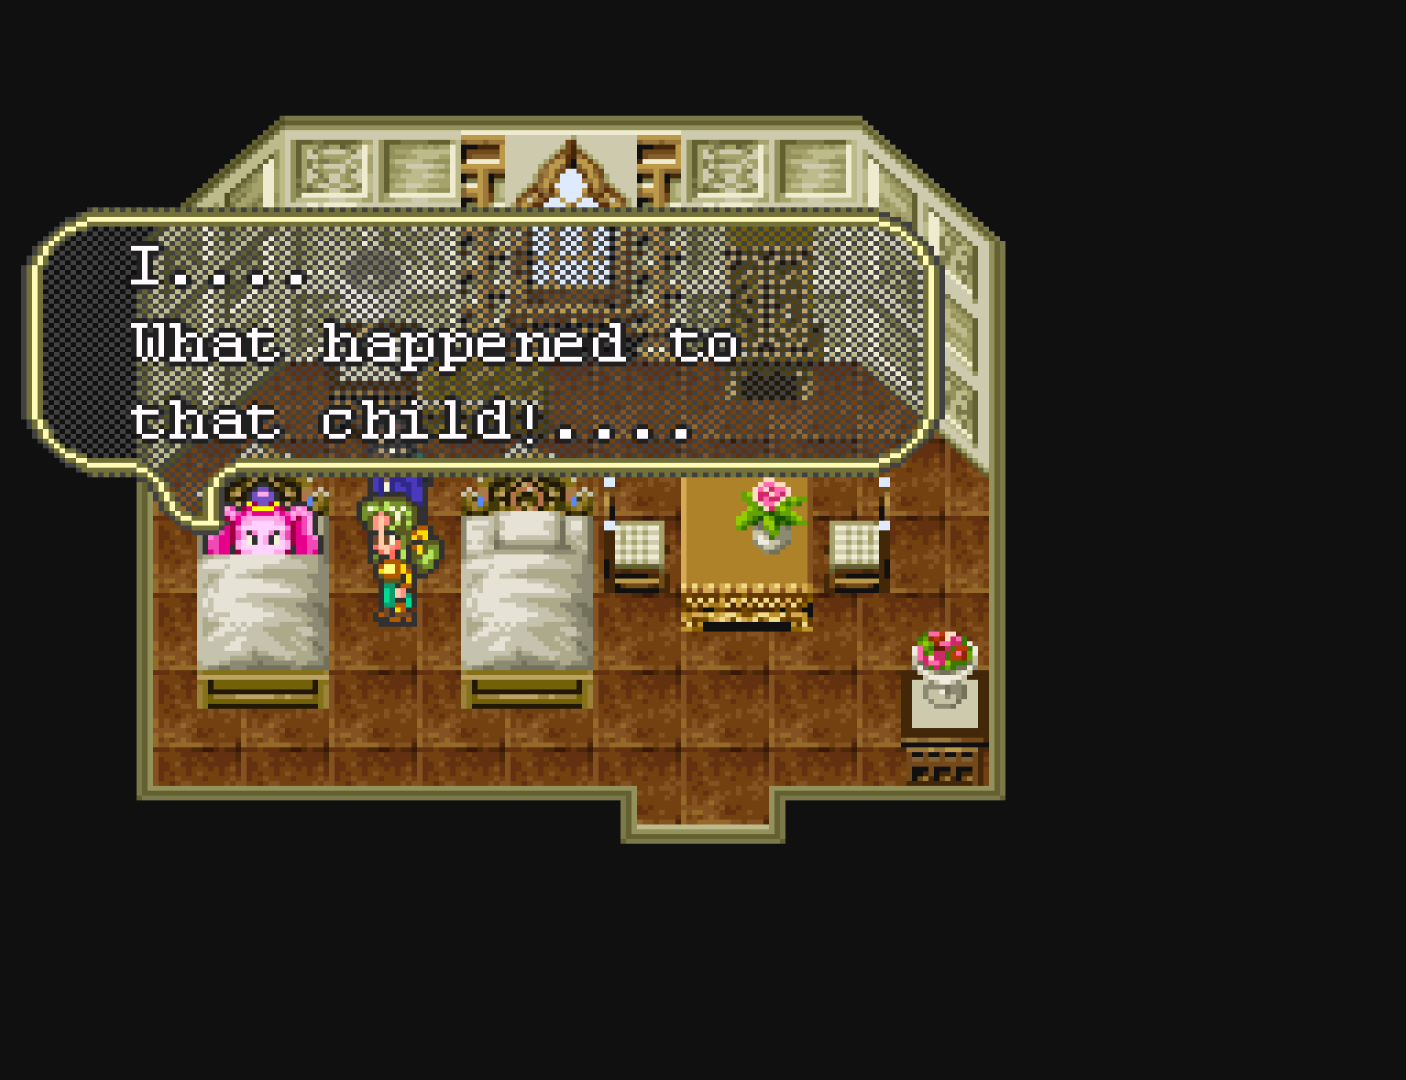
MUSE IN A DREAM (PIDONA)
Go to Muse's house in 'Old Town' West Pidona (trigger: 220+ HP and having saved Gon). Talk to Sharl/Charl: Muse drank the Dream Devil medicine, gotta drink it too and save her. You can Go Together with him in Muse's Dream and can bring in 4 people in all from your party.
Note: If you choose to Go Together but do not send your main character in the dream (note that the characters that you send in the dream will not level up), or if you choose to Wait Here outside the dream, Muse & Sharl become recruitable but you miss on all items.

Muse's Nightmare takes place in the unaccessible Pidona Castle and just seems confusing: in fact it is fairly simple.
First, there is only one enemy, Baku/Tapir (under the guise of those religious-looking persons), from which you should learn the Hypnotize/Hypnosis Evade skill in preparation for the boss battle. Baku/Tapir drops Earl's Tears/Tapir's Teardrop, which restores your party to spick-and-span condition (including LPs): take advantage of this to master some techs, for example. (You can also grind a bit, if you are the grinding kind of person.)

Anyway, in the first large room:
- All 3 stairs at the bottom of the screen lead to a room with a chest, and the way back always leads to the left-most stairway.
- The doors open on, from left to right: 1) chest, 2) nothing, 3) chest, 4) nothing, 5) room with a long table.
The rooms with the chest are actually the same room: the first time you open the chest it's Earl's Tears/Tapir's Teardrop, the second time the Dream Gem and the third time the Silver Hand/Glove. It doesn't matter from which door you access the room.
Now, to proceed, in the room with the long table, talk to the woman at the top right (poof, magic), get out of the room, repeat, and walk out to get to a new section.


In this new room, one door with the same process as previously, up the stairs on the left, and we get to Muse and the Dream Devil, who assumes the appearance of her late father, the General Clemens of Pidona (killed by a member of the Divine Church after he won his battle against Ludwig). And boss battle.


Dream Devil/Dream Eater:
Near the end of the battle, if Muse is in the battle party, the Dream Devil/Eater will transform to try and deceive her once more, but no no, she deals the finishing blow.
If Muse isn't in the battle party (or LP-killed), the Dream Devil just wonders where she is. At this point the Dream Devil becomes stronger and you have to hit him a bit more.
Both times he dies eventually and you go back to 'reality' (but is it really? was it a blue medicine or a red medicine? ahem).
When you wake up, you normally lose all Earl's Tears and the Dream jewel.
If you equipped Sharl or Muse with the Dream Gem and LP-killed him or her at any time during the dream, you keep the Dream Jewel!
In any case, the Silver Hand/Glove does not disappear. It's a great gauntlet that either 1) boosts Sharl's stats, or 2) allows a character with single-handed weapons and no shield to hit twice: with the selected weapon (normal attack or non-hit-all tech) and the next one (normal attack).
Note: Even if Sharl & Muse are both LP-killed inside the dream, you can recruit them after you defeat the Dream Devil.
Anyway, everyone wakes up and we learn Muse got the medicine from a gentle man in a robe, with red earrings.. Maximus. Mmmh.


FREAK-SHOW FAIRY, JUNGLE FAIRY (A TOWN, AKE/ACHE, FAIRY VILLAGE/FAIRYVILLE)
The Fairy (arbitrarily named Peony in the Remaster) is captive in a 'Great Fake Show' (Show of Wonders), a touring circus, or rather a traveling freak show.
The Great Freak Show can be found, after talking to Anna in Lance 'About the Abyss Gates', in one of 7 locations: Stanley (East), Farce/Faros (West), South Moses/Mahzoz (West), Librof/Ryblov (East), Mules/Myules (West), Pidona (North East), or nowhere (the location changes randomly after you start at least 1 battle). You will see a billboard next to an usually unused town exit: go, pay, visit, then stay at the Inn. Cries wake you up, go investigate (if you don't, the Circus and Fairy are gone forever), free the Fairy (upper tent), and fight Soul Sucker if you wish (right tent - if you have low HP it can decimate your party, careful; you can Run from the battle but it will not trigger again).


The Fairy Village is somewhere in the Jungle near Ake/Ache. Go to Ake/Ache and take the South exit into the Jungle.
The Jungle is a vividly-colored maze populated by Plant, Spider, Beast and Flying enemies, with numerous random exits, and some dead ends.
The path to the village never changes. From Ake/Ache: South, East, 1st North, West, North, West. You are looking for a large climb-able tree.
Here is a map of the path from Ake/Ache to the Fairy Village/Fairyville.


The Fairy Village (Fairyville) is pretty but unfortunately boring: almost nothing to get (Fairy Herb/Faerie's Harp x6), almost nothing to learn (the fairies you meet keep telling you different, misleading butterfly colors, a couple play jokes on you) and certainly a long way to the top (jump over the holes by running with the Y button, walk without pausing over the blooming flowers). There is little chance you should ever come back again (except to recruit Fairy if you wish, after you find the entrance of the Fire Palace/Fortress). At the top: Fairy/Peony, who tells you the 'correct' color of the butterflies you need to follow to get to the Fire Palace/Fortress (if you haven't met Fairy, the 'correct' color is randomly set when you enter the Jungle from Ake/Ache). You might as well spend a little time finding it now (you need to follow the 'correct' color 3 times, then any color once; exits without butteflies do not reset the counter): just enter the Palace and it appears on the World Map. Note that you will not be able to find the Fire Palace at all if you have not talked to Anna in Lance 'About the Abyss Gates' (trigger for the Freak Show).


EAST OF THE WEST: FROM NAJ TO MUNG
(NAJ DESERT, DIVINE TOWER/ARCHLORD TOWER, DRY RIVER/FLOWING SANDS, DEATH DESERT/DESERT OF DEATH, GREAT PRAIRIE/GREAT PLAINS, MUNG VILLAGE/MUENGE VILLAGE, NEFT'S DEN/NEFTE TRIBE, ZELNAM'S DEN/ZELNAM HAUNT)
In Librof/Ryblov Pub, you have heard of the Divine/Archlord Tower, located in the Naj Desert.
Once in the Naj Desert, there are two routes: East or West. Go West now, until you reach the Divine Tower.
There, talk to the pink-haired girl: now you know about the Dry River/Flowing Sands.


Before going East, be sure to empty most of your inventory in one of the storerooms: it will be some time before you can do so again.


When ready, go to Naj Desert and head East (right) thrice: there is the Dry River.
The Dry River (Flowing Sands) is pretty straightforward (follow the river) and there is no benefit in straying from the path (unfortunately).
There is one fixed enemy at the start: Sundine/Sandino x3, which can really hurt if you come early (but they are immune neither to Insta-Death nor to Petrify/Midas Hand). They are a test to see if your party is fit for what is to come (since you cannot come back to the West for some time). Other enemies: a few Fish.

At the end of the Dry River lies the Death Desert (Desert of Death).
Pretty simple here too. You just have to notice that you can climb on the ledges with stone steps (there were those also in the Dry River). Enemies: Beastman, Fairy.
On the second field, two exits: North the Crystal Ruins (for later maybe?) and East the Great Prairie/Plains.

In the Great Prairie/Plains (enemies: Flying, Beast), go North, then East, and here is the Mung/Muenge Village.
In the Mung/Muenge Village, have a look around if you want, and talk to Zhi Lin (Re: Zhi Ling), the girl standing in front of the lower-right tent, and to Bai Meiling (Re: Bai Meiniang) in the tent: she says you are the first to have crossed the Desert in 600 years (they mustn't have tried very hard until then) and removes one of your party members for study purposes (?!). Talk to Zhi Lin: she gives you Psycho/Psychic Hat to talk to the insect Neft's Tribe (there is trouble because of the Zelnams from the Abyss) and joins you.
Note about Psycho/Psychic Hat: If your inventory was full or if you drop or sell it (even though it is worth 0G), talk to Bai Meiling: she will give you another one. How unexpectedly nice of her!


ALT: If you have headed East for the first time after having sealed the 4 Abyss Gates (as was probably originally intended, since there is no hint that you should head East until Johannes tells you that there must be a 5th Abyss Gate in the East), the dialogue during your first meeting with Bai Meiling/Meiniang is different. It includes a funny cutscene in which you try to explain your adventures until now and flows seemlessly to your next quest, the Neft's Den. (Note that you will also get extra / different dialogues after the Neft's Den, in Mung/Muenge Village, and in Xuan City if you talk to Bai Meiling/Meiniang.)


The Neft's Den/Nefte Tribe is located south of the Great Prairie/Plains (from Mung/Muenge Village: West, South).
Enemies: Zelnam/Zelnamite, Beast. No loot.
You just have to beat the two static Zelnams/Zelnamites, respectively in the North-West and in the South-East, and talk to the fixed Neft in the South-West (with Psycho/Psychic Hat equipped), who expresses their wishes to cohabit with the humans and drive out the common enemy, that comes from the North.

But before that (it is still closed), let us go back to Mung/Muenge Village (up, right) and talk to Bai Meiling/Meiniang: she gives our party member back and suggests we should go to Xuan City and see Yan Fan (Remaster: Yang Fan). You can recruit Zhi Lin if you want to, and off we trot East.
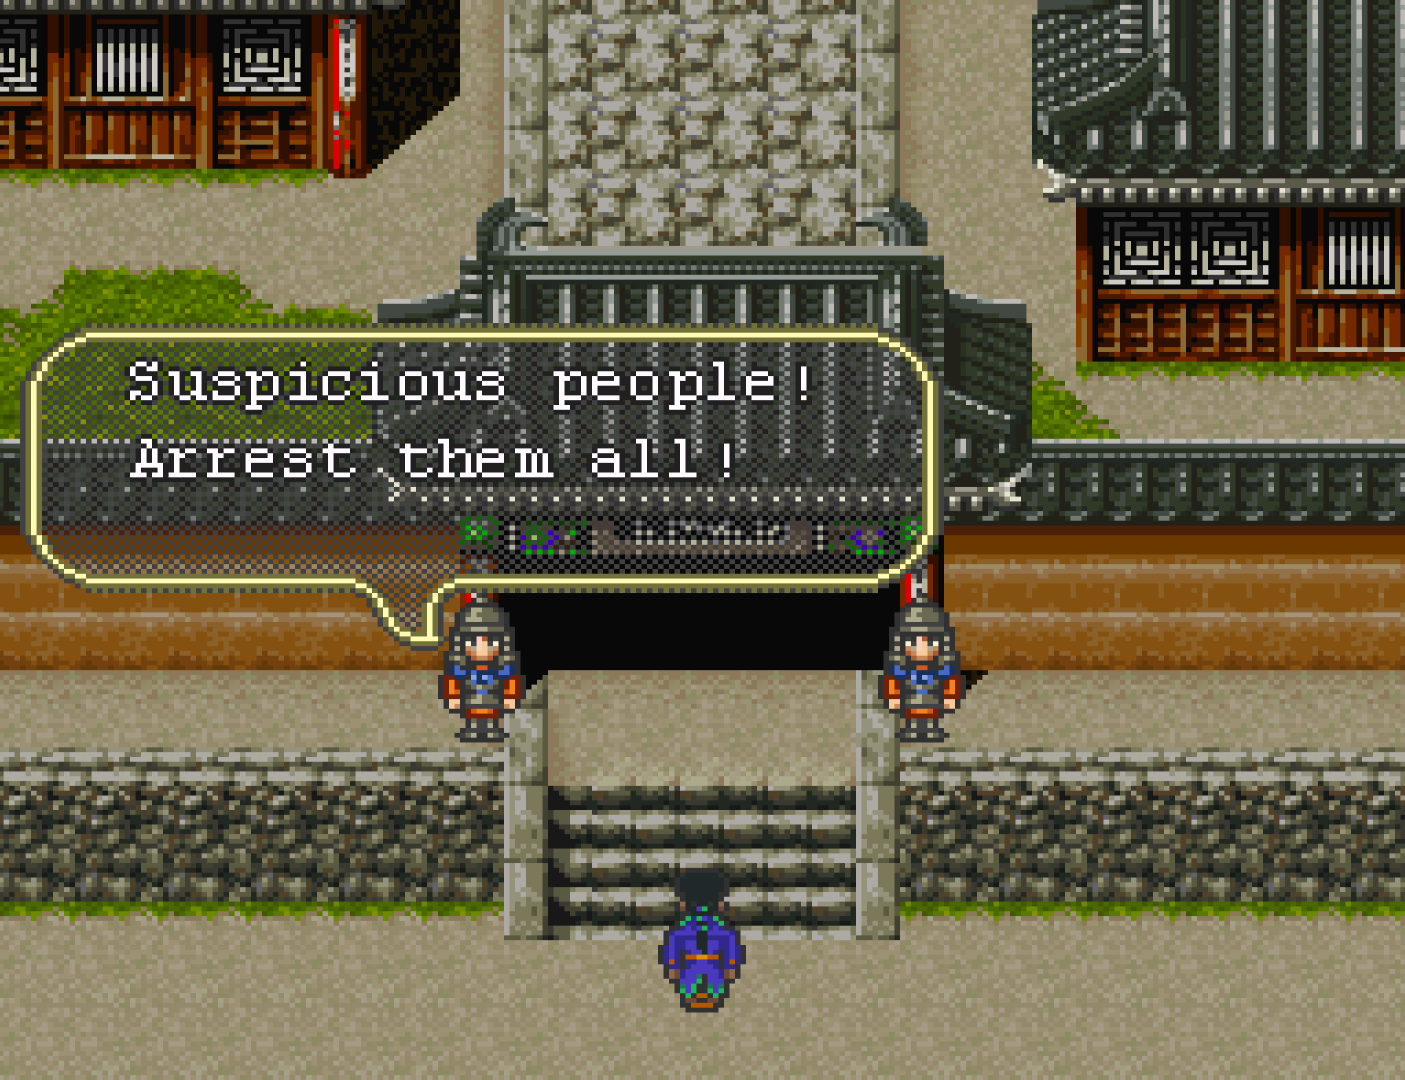
Xuan City: the party is arrested as soon as they approach, Yan Fan interrogates you and puts you in jail while waiting for a reply to the report he sends to Tao Gao the Emperor of the Eastern Capital Huang City. No time for this crap: Bai Meiling/Meiniang gets you out, Yan Fan yields (Bai Meiling/Meiniang and Yan Fan join momentarily for the next quest if you have a party of 3 or fewer), you can explore the city (2 item shops, full Sun & Moon magics, Wind magic from Bai Meiling/Meiniang whom you can also recruit)(and one Salve 2/Quality Balm in Yan Fan's basement: right, downstairs, small room) and head out back to Mung/Muenge Village (at this point all Xuan City exits lead to Mung/Muenge Village) and left, up, up in the Great Prairie/Plains, to find the Zelnams' Den/Zelnam Haunt.
Note that if you are joined by Bai Meiling and Yan Fan or if you recruit Bai Meiling for the Zelnam’s Den quest, you cannot kick them out of your party (the option to Leave Friends at the Pub does not appear), but they will leave on their own once the quest is complete.


The Zelnams' Den / Zelnam Haunt is pretty straightforward also.
For a change, some chests with useful items (Elder/Elderwood Bow, Victory/Invincible East, Barrier Stone, 2800G).
Enemies: Flying, Spirit, Beastman. You may start getting enemies with interesting item drops.
Boss: the Devil King/Archfiend Armor! or rather the Zelnams/Zelnamites that keep coming to defend it (in that respect similar to what happens during the Great Thief/Carmine battle): long range and hit-all techs or spells. Be sure to replenish those TPs/MPs with items before going in.

Once the source of the unrest in the East is dispatched, you are back to Xuan City and may now – at last – leave to the World Map! (North Exit or 'Y' button). A bunch of Eastern locations are now accessible from the World Map but you may notice that you cannot exit Mung/Muenge Village or the Great Prairie/Plains directly (you must go to Xuan City to be able to jump to the World Map). Inconvenient, but oh well.
Notes:
- SFC only: Careful with an unlikely but conflicting event.
- Remaster only: If you go to the Zelnam Haunt with Yang Fan and Bai Meiniang and LP-kill them (accidentally or on purpose), no worry: they revive after you beat the Archfiend’s Armor (and you can re-recruit them right away if you came here after sealing the 4 Abyss Gates). Magic!
ALT: If you have headed East for the first time after having sealed the 4 Abyss Gates: After defeating the Devil King/Archfiend's Armor, you still do not know where the last Gate is, but Yang Fan tells you of a rumor about Huang City and prompts you to go see for yourself. Huang City is now open on the World Map and you realize that the city defense is too strong for you (yeah, after you have beaten 4 Abyss Lords..). Go back to Xuan to talk to Bai Meiling/Meiniang (extra/different dialogues): Yang Fan devises a plan to lure the troops out and allow you to sneak in Huang City: off you go and there is no turning back!


WAKE UP THE ELEPHANT (RASHKUTA)
We might as well go to Mung/Muenge Village right now and talk to the man in yellow clothes walking around town, who tells you about an elephant town (and not because of too much drinking): Rashkuta is now open on the World Map too. Since it's there, let's have a look: you can open the Rotten Sea on the World Map (talk to the elephant in the central building) and cure the brother of Zo the Elephant, arbitrarily named Rukh in the Remaster (top-left house, we learn interesting bits of the story and guess as much) by bringing Sara along: you can now recruit Zo/Rukh if you want.

Note: The dialogue changes a bit if you are Sara and bring Shonen/Young Boy along.
THE CRYSTAL RUINS
As you may remember (glimpse at the map if you don't), we went past some Crystal Ruins in the Death Desert, on our way from Naj to Mung. Let's visit this pretty place.
Plenty of treasures: Star Trail/Mail, Magic Beast/Morax Leather, Titan Suit, Tpotion 3/Mind Salts, Mpotion 2/Spirit Liquor, Spirit/Faerie Stone x3, Life Elemnt/Root of Life, Salve 2/Quality Balm, Remedy/Panacea, Soft/Depetrifier, Tpotion/Skill Salts, Mpotion/Puissance Liquor, 4000G in all.
Enemies: Amphibian, Spirit, Inorganic, Serpent, Crystal Dragon, Cyclops.


Crystal Dragons guard the main chests. They are majestic beasts but nowhere as strong as Dragon Rulers: 8k HP and no regen (unless you spark a Water environment). They use their Claws (may Paralyze), Tail Sweep (may Stun), Crystalizer (may Petrify), Electricity (be careful with your Formation). Unfortunately they have a relatively low Flash level and drop nothing, so kill them fast.
Another unique enemy: Cyclops (almost 10k HP), who hits physically quite hard and may even Petrify (Stare/Gaze) or Hypnotize you. Rare drop: Titan Suit.

(Right-click and open in a new tab or window to enlarge)
So that's it with the East! for now. Let's go back to the West.
To WALKTHROUGH PT. 2